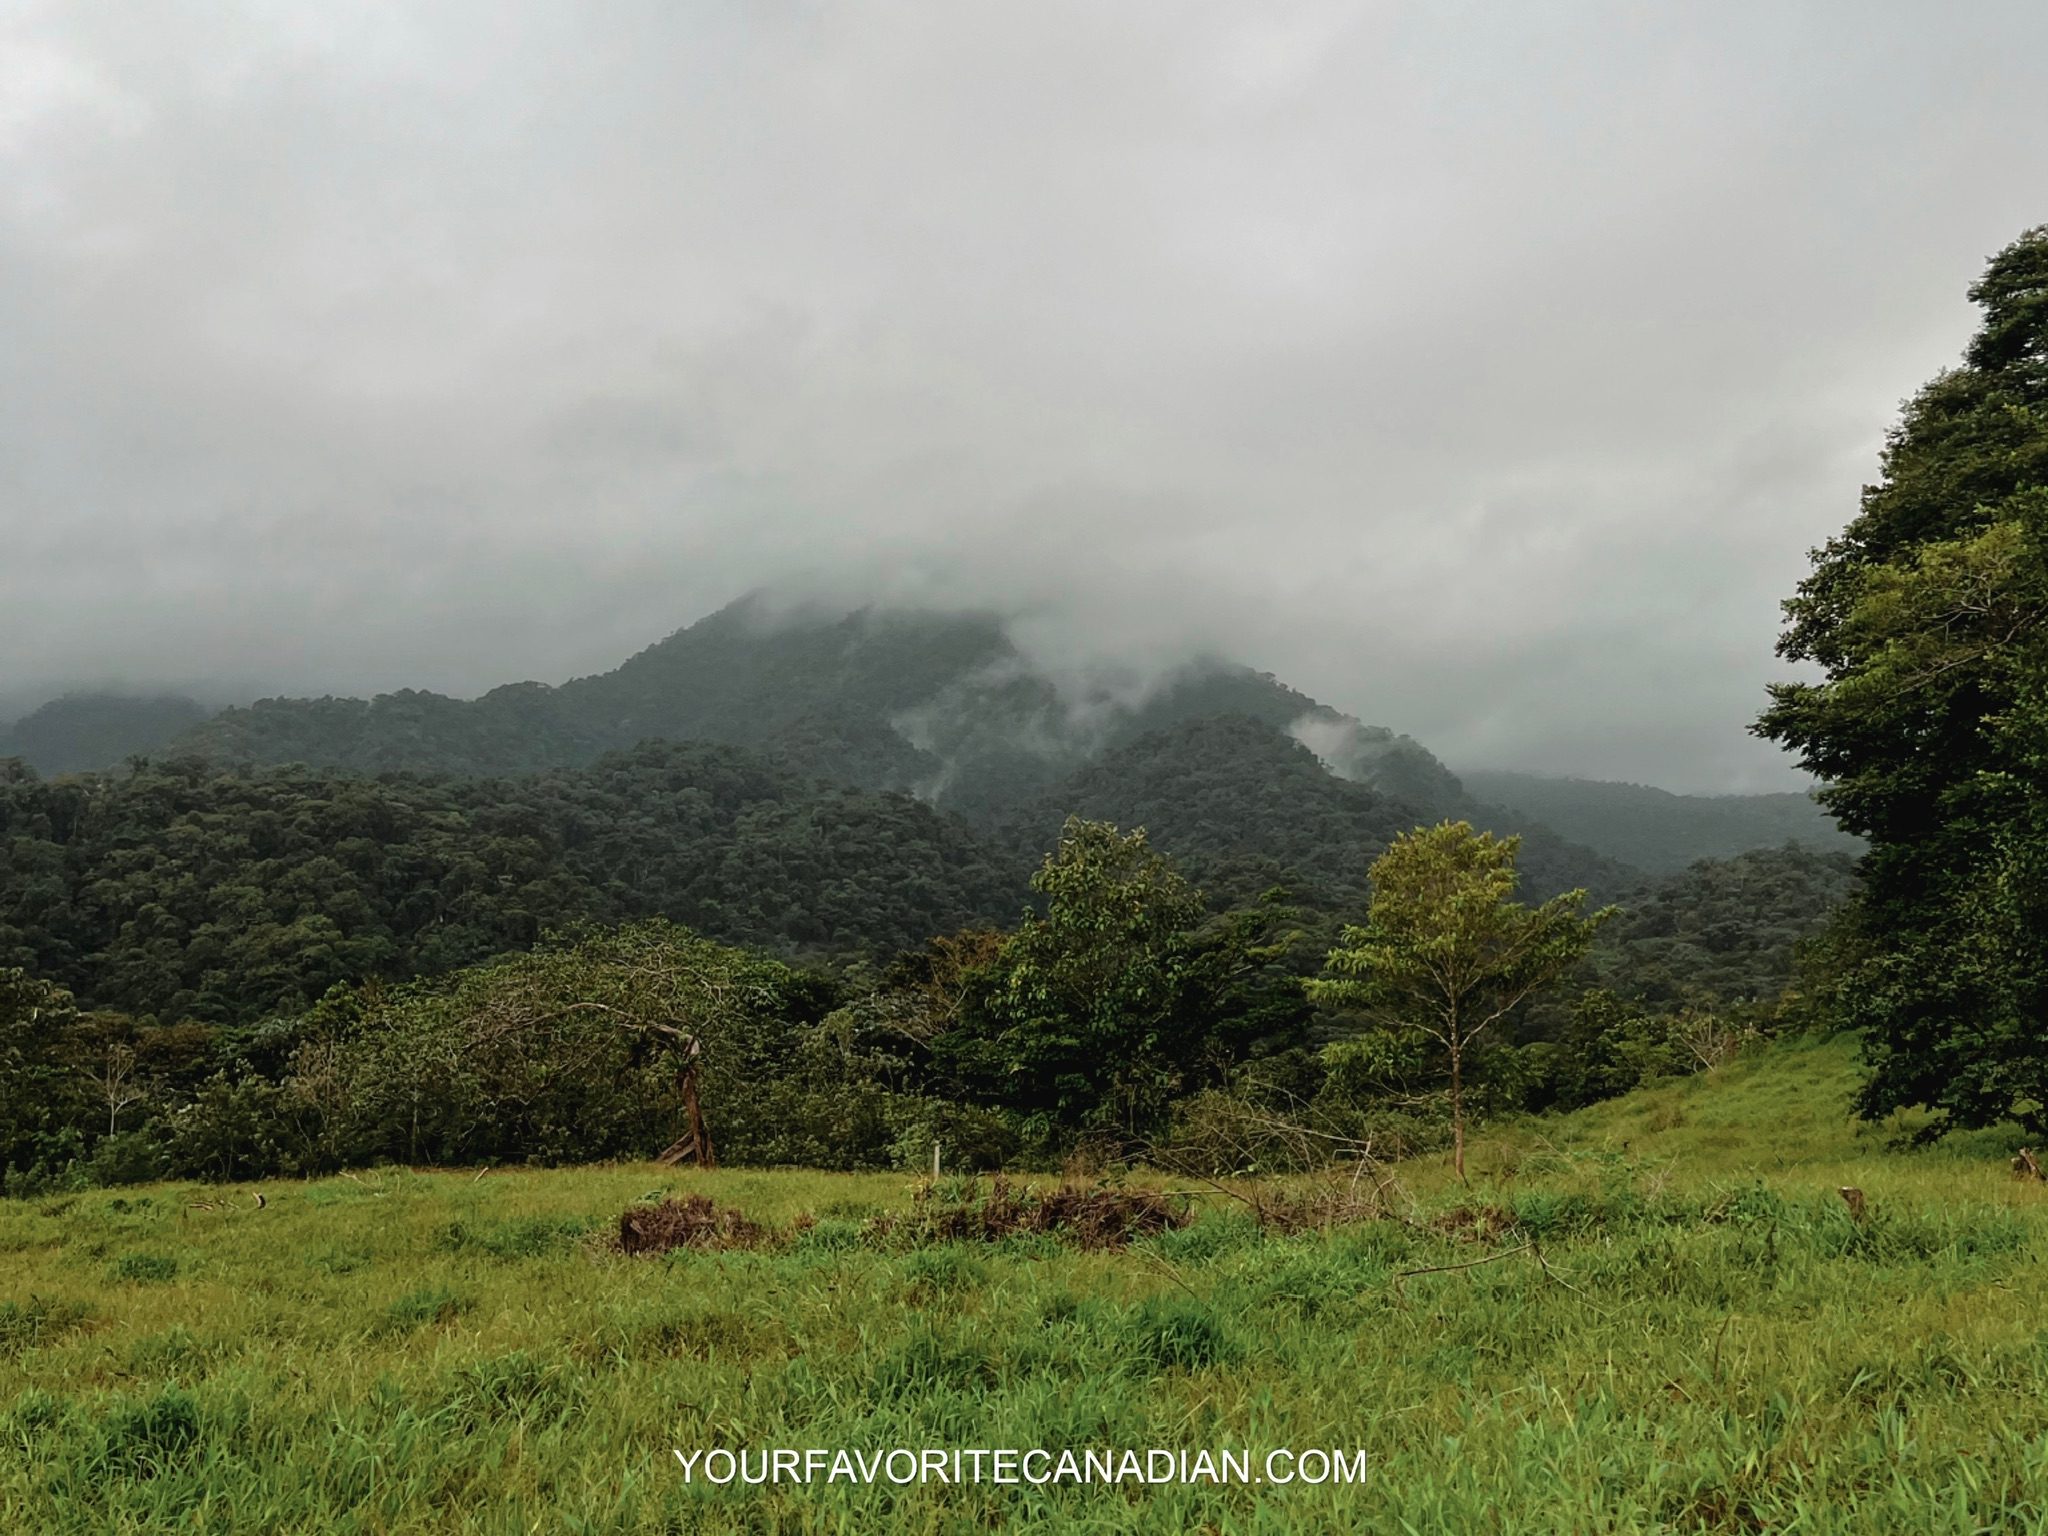
This hike in La Fortuna is quite challenging, but the effort is absolutely worth it. At the end of the Arenal Volcano trail, you’ll find a crater where you can take a refreshing swim.
Good to Know: This activity is completely free. Be cautious of locals who may try to charge you $20 USD for entrance—this is unnecessary. You can start the hike directly from the Ecological Reserve Fortuna Waterfall. Avoid The Lodge, as it’s a scam. Below is a complete guide to help you navigate from the base to the top of the trail.
- What Exactly Are the Arenal Volcano & Cerro Chato?
- Step-by-Step Guide
- Hiking Preparation and Tips
- Safety Considerations
1
What Exactly Are the Arenal Volcano & Cerro Chato?
Arenal Volcano is located in the La Fortuna region. Its last major eruption was in 1968. Don’t worry—the volcano gradually became dormant in 2010, allowing the surrounding ecosystem to recover and flourish. This has made it a popular attraction for tourists, thanks to its diverse wildlife and lush vegetation.
Cerro Chato is an ancient and dormant volcano believed to have formed over 38,000 years ago. Cerro Chato offers a challenging hike and the unique reward of a crater lake at its summit.
Together, they provide one of my favorite activities in La Fortuna, offering a unique and unforgettable experience for hiking enthusiasts.
2
Step-by-Step Guide
1. Start at the Ecological Reserve Fortuna Waterfall
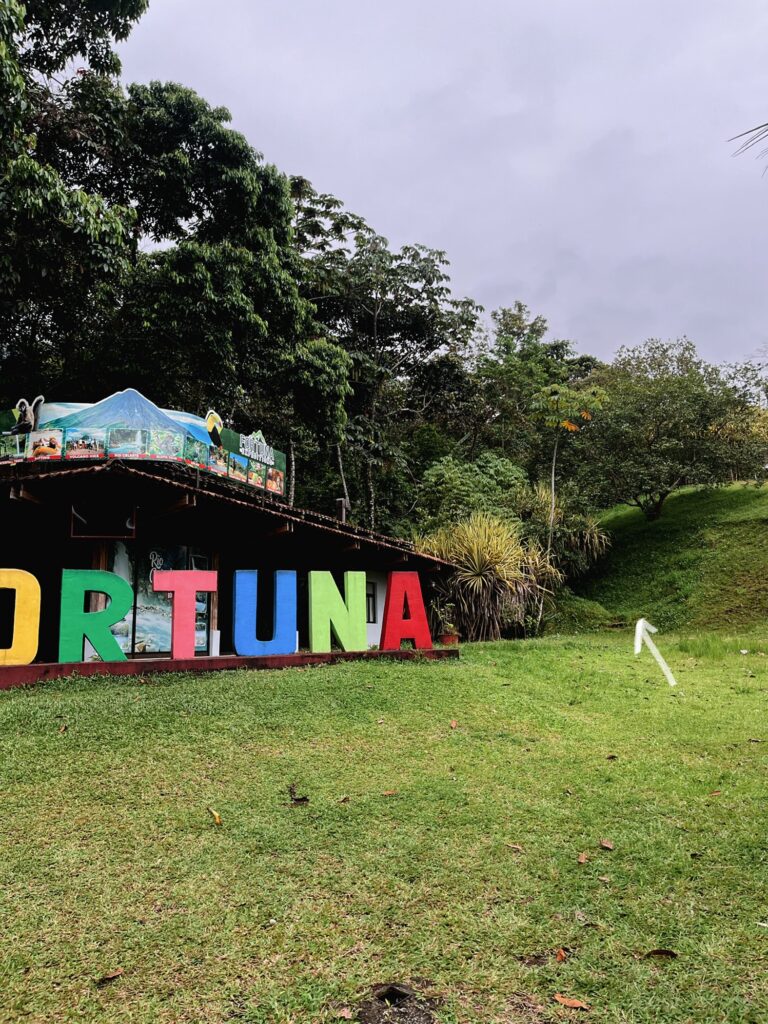
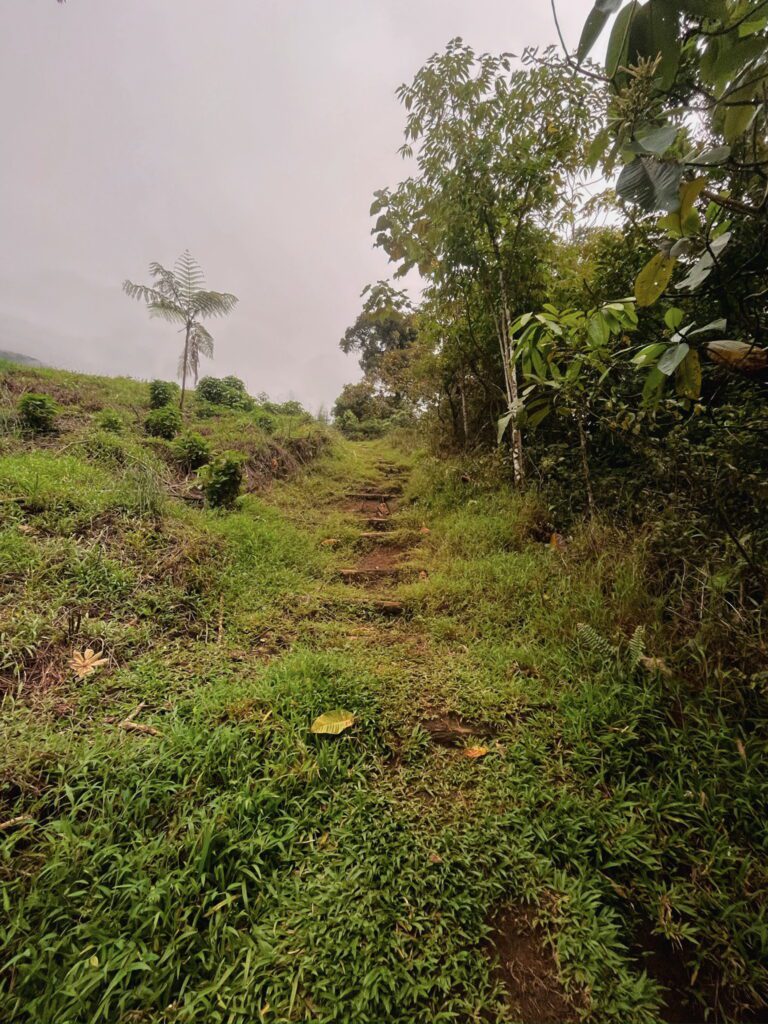
Park your car at the waterfall parking area—there’s no fee. From there, follow the path to the right of the large FORTUNA sign. You’ll soon come across a few stairs leading into the jungle. Take these stairs and continue along the path.
2. Cross the Small River
About two minutes into the hike, you’ll need to cross a small river. The bridge is no longer in place, so you’ll have to jump to the other side. Once across, the path begins to ascend. Navigate around the fence and take the steps on the right side of it.
3. The Meadow
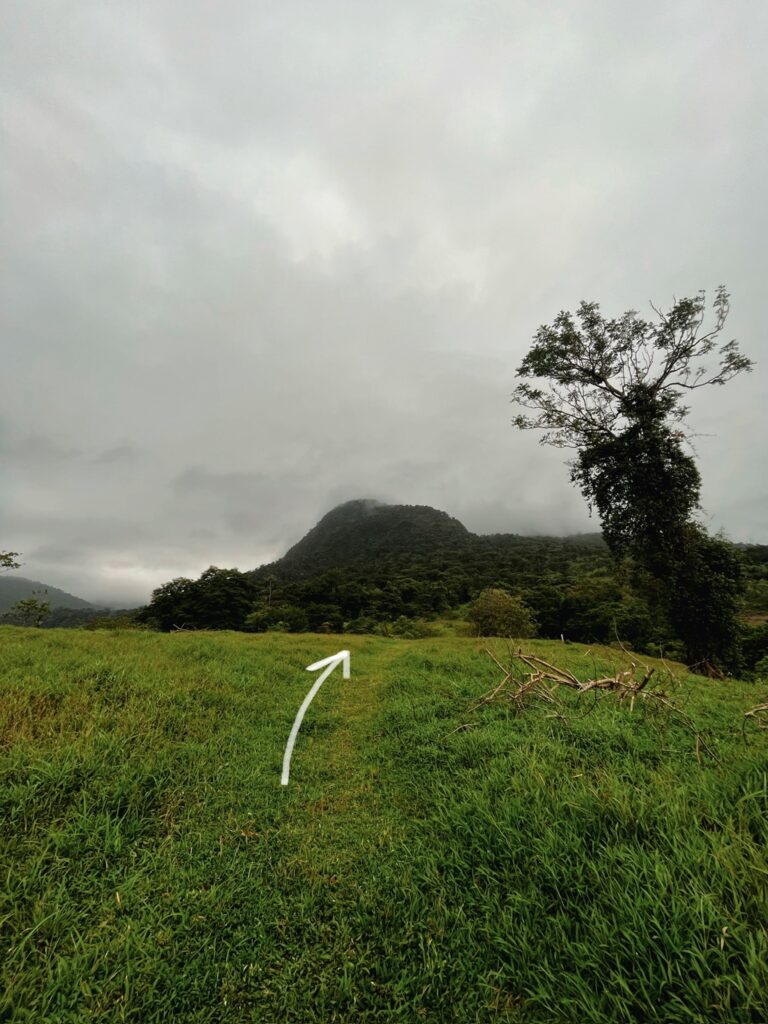
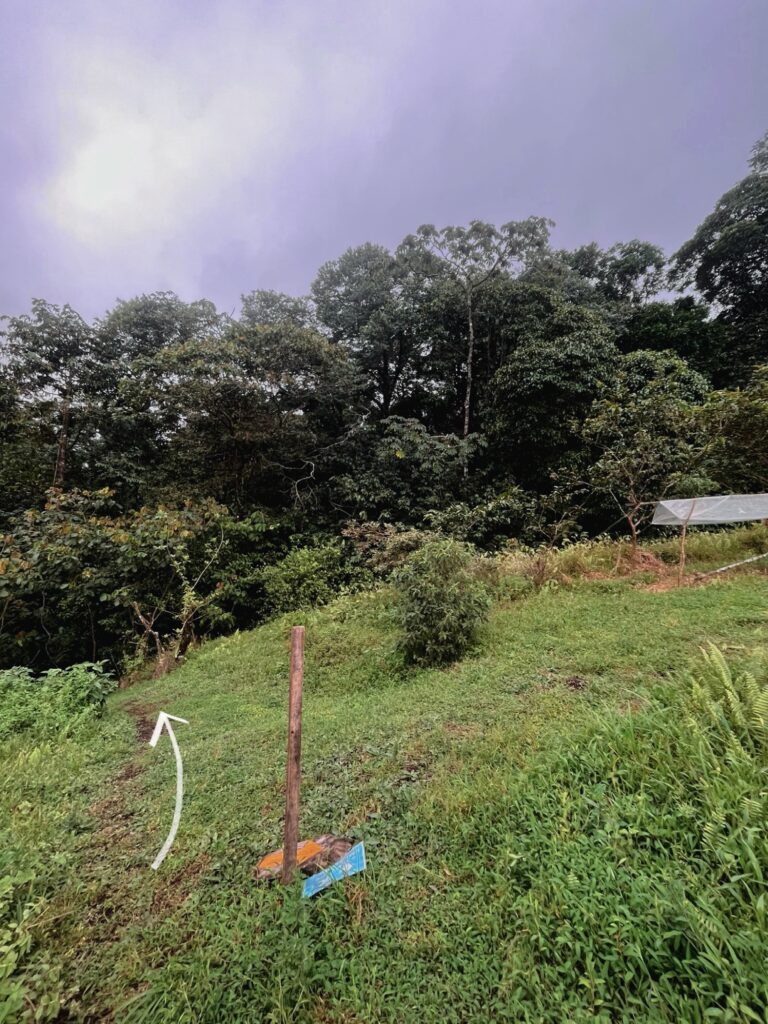
After a few minutes, you’ll reach a meadow. Follow the path that has been created through the grass. Shortly after, you’ll arrive at an intersection.
4. The Intersection
At the intersection, you’ll see two different paths. I recommend taking the left path, even though there’s an arrow pointing to the right. I took the left path, and it’s much nicer than the other option.
5. Climb Up
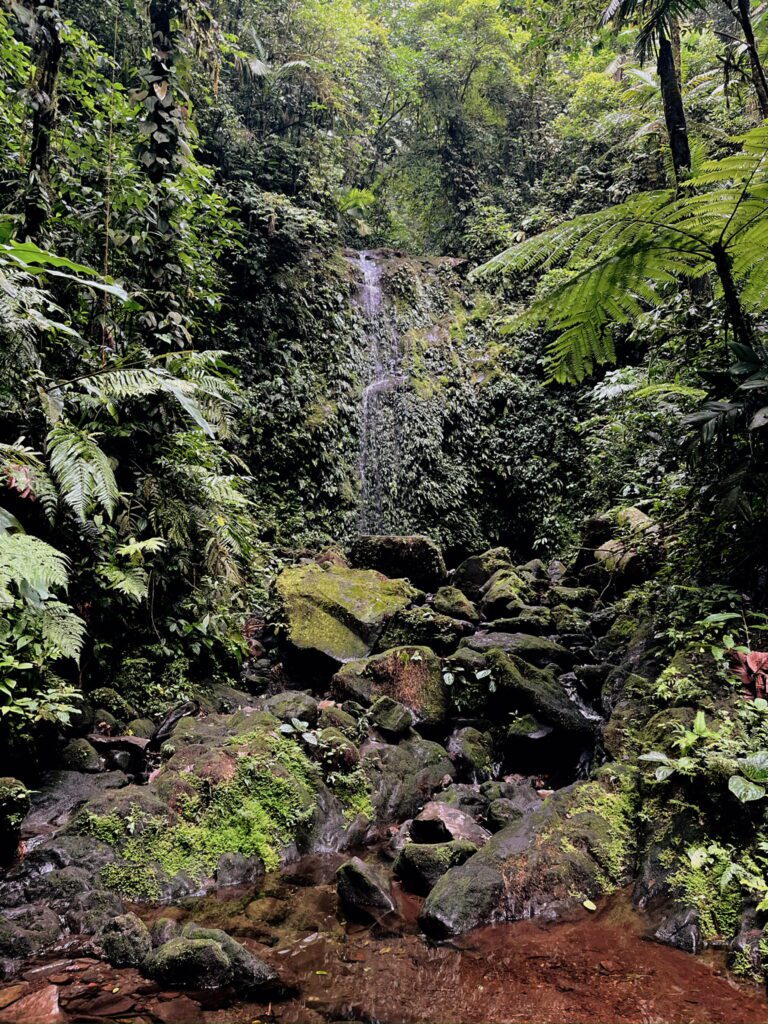
Soon, you’ll encounter more stairs. Continue on, and you’ll cross a bridge and pass a small waterfall—this indicates that you’re on the correct path. Eventually, both paths merge into one. Continue left, as this is the way up to the crater. From here, it’s all about climbing and enjoying the journey!
6. Cerro Chato
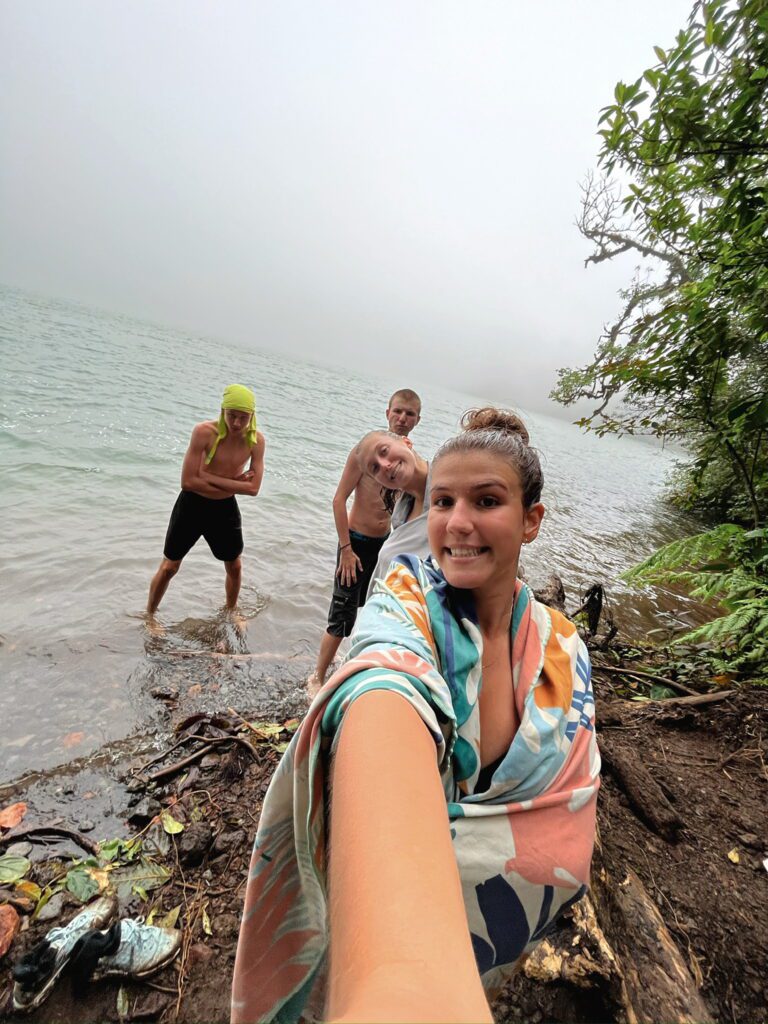
In the last 10 minutes of the trail, you’ll need to descend to reach the crater. Be cautious, as there are multiple paths to take, and some can be very slippery. The water in the crater is cold, but after the intense climb, I highly recommend taking a swim. It’s the perfect way to cool off after your hike!
3
Hiking Preparation and Tips
Being well-prepared for a hike is essential to fully enjoy the activity. Here are some important aspects to consider:
What to Bring
- Hiking boots or sport shoes: The trail can be very slippery, so be sure to wear comfortable and stable footwear.
- Day backpack: To keep all your belongings in one place while leaving your hands free for the hike.
- Plenty of water: There is no access to water along the trail, so bring enough for the entire hike.
- Snacks: These are crucial for a boost of energy when you start to feel tired.
- Rain jacket: The weather is unpredictable, so it’s best to be prepared.
- Bathing suit: Perfect for taking a dip in Cerro Chato after your hike.
- Microfiber towel: To dry off quickly after your swim.
- First-aid kit: Essential in case of an accident.
- Sunscreen: Protect your skin, even if it’s cloudy.
Note: Always be mindful of the environment. Remember the importance of packing out all your trash in your day backpack to preserve the trail.
Fitness Level
I won’t lie—this is not a beginner-friendly hike. The ascent can be extremely steep at times. The trail can become very narrow and difficult to navigate due to mud and rain. You’ll likely need to use your hands to climb over certain parts of the trail. However, if you’re accustomed to walking and hiking regularly and are in good physical shape, you should be able to complete this hike.
Stay connected! Follow us on social media for exclusive content & updates on our travels.


On our website, you’ll find all the essential information and tips, while on our social media, you’ll get even more – including personal experiences, funny moments, stunning videos, and much more!
4
Safety Considerations
I don’t recommend attempting this hike in the rain, as the trail can become very slippery and dangerous. The trail is mostly made of mud and rocks, which become even more difficult to navigate when wet. I fell more times than I can count on the way down because it was raining. Fortunately, I didn’t get hurt, but one wrong move and I could have easily injured myself.
I highly recommend checking the weather forecast before setting out, even though the weather can sometimes be unpredictable. If the weather changes suddenly while you’re hiking, take your time and proceed cautiously. It’s not the time to rush—the last thing you want is to get hurt and ruin your trip to La Fortuna.
Don’t want to miss out on our latest articles? Be sure to subscribe to our website, and you’ll receive a notification every time we publish something new!
